Did you know that Python3 is automatically packaged with Ubuntu 20.04? Let’s leverage this fact and deploy an example Flask framework application.
Step 1 - Add a NodeJS SSR app
Add a new NodeJS SSR site to your server. We’re using a NodeJS as it will install Node AND PM2 to the server. We can easily use PM2 to monitor the Flask app and keep it alive with just a few tweaks.
Step 2 - Configure app repo
In this example, we’ll use a Flask repo from XD that I modified a bit to make the port number use the one assigned by Cleavr. GitHub - armgitaar/flask-example: A minimal web app developed with Flask.
In the app.py file, take note to the very bottom:
if __name__ == "__main__":
    app.run(debug=True, host="0.0.0.0", port=os.environ.get('PORT', 5000))
Flask apps default to run on port 5000. However, the following allows the app to run on the server assigned port: port=os.environ.get('PORT', 5000).
On the repo tab, add armgitaar/flask-example to the repo and keep branch as master.
Step 3 - Configure entry and PM2 ecosystem
On the Build tab, set Entry Point to app.py.
In the PM2 ecosystem, we’ll need to set the interpreter to Python3 as well as remove a couple of configs that aren’t compatible with Python apps.
Add interpreter:
"interpreter": "/usr/bin/python3",
Remove the following lines:
 "instances": "max",
 "exec_mode": "cluster_mode",
The ecosystem should look similar to the following:
{
  "name": "your.domain.com",
  "script": "app.py",
  "args": "",
  "log_type": "json",
  "cwd": "/home/cleavr/your.domain.com/current",
  "interpreter": "/usr/bin/python3",
  "env": {
    "PORT": assigned port number,
    "CI": 1,
  }
}
Step 4 - Configure deployment hooks
On the deployment hooks page,
- Disable Install NPM Packages hook
- Disable Build Assets hook
Add a new hook to install Python dependencies:
pip install -r requirements.txt
Order the above hook to run before the activation deployment hook.
Step 5 - deploy!
Once all of the above is complete, deploy the app!
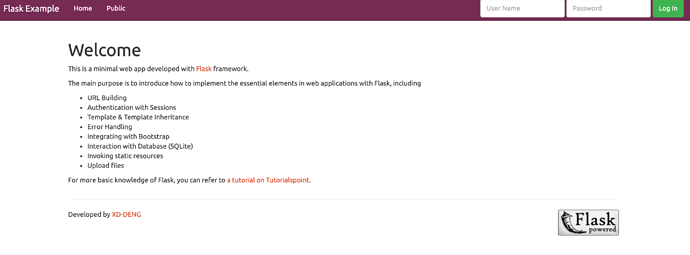
You should see a page that looks like the following:
