Craft CMS is a PHP based CMS that you can run headless or with Twig templates.
Getting it set up and deployed using Cleavr is pretty straightforward.
Install on your local machine
If you do a lot with PHP and especially if you are a Laravel web dev, you’re probably familiar with Composer.
You can install Craft via composer by running the following command:
composer create-project craftcms/craft my/project/path
Where my/project/path is the directory you want to install Craft CMS at.
After Craft is installed, add it to your favorite GIT repo (GitHub, GitLab, Bitbucket).
Provision a server and add a new PHP site in Cleavr
Once your server has completed provisioning, add a new PHP site and include /web as the web directory location.

Add a database
Install either a MySQL or PostgreSQL database. I’m choosing to install Postgres.
Next, add a new database with a user. For example, mine is:
Name: craft
Username: admin
Password: password
We’ll use this info again later when we go through Craft’s setup flow.
Configure the new web app
Select the VC profile your app is stored under and then the repo path.
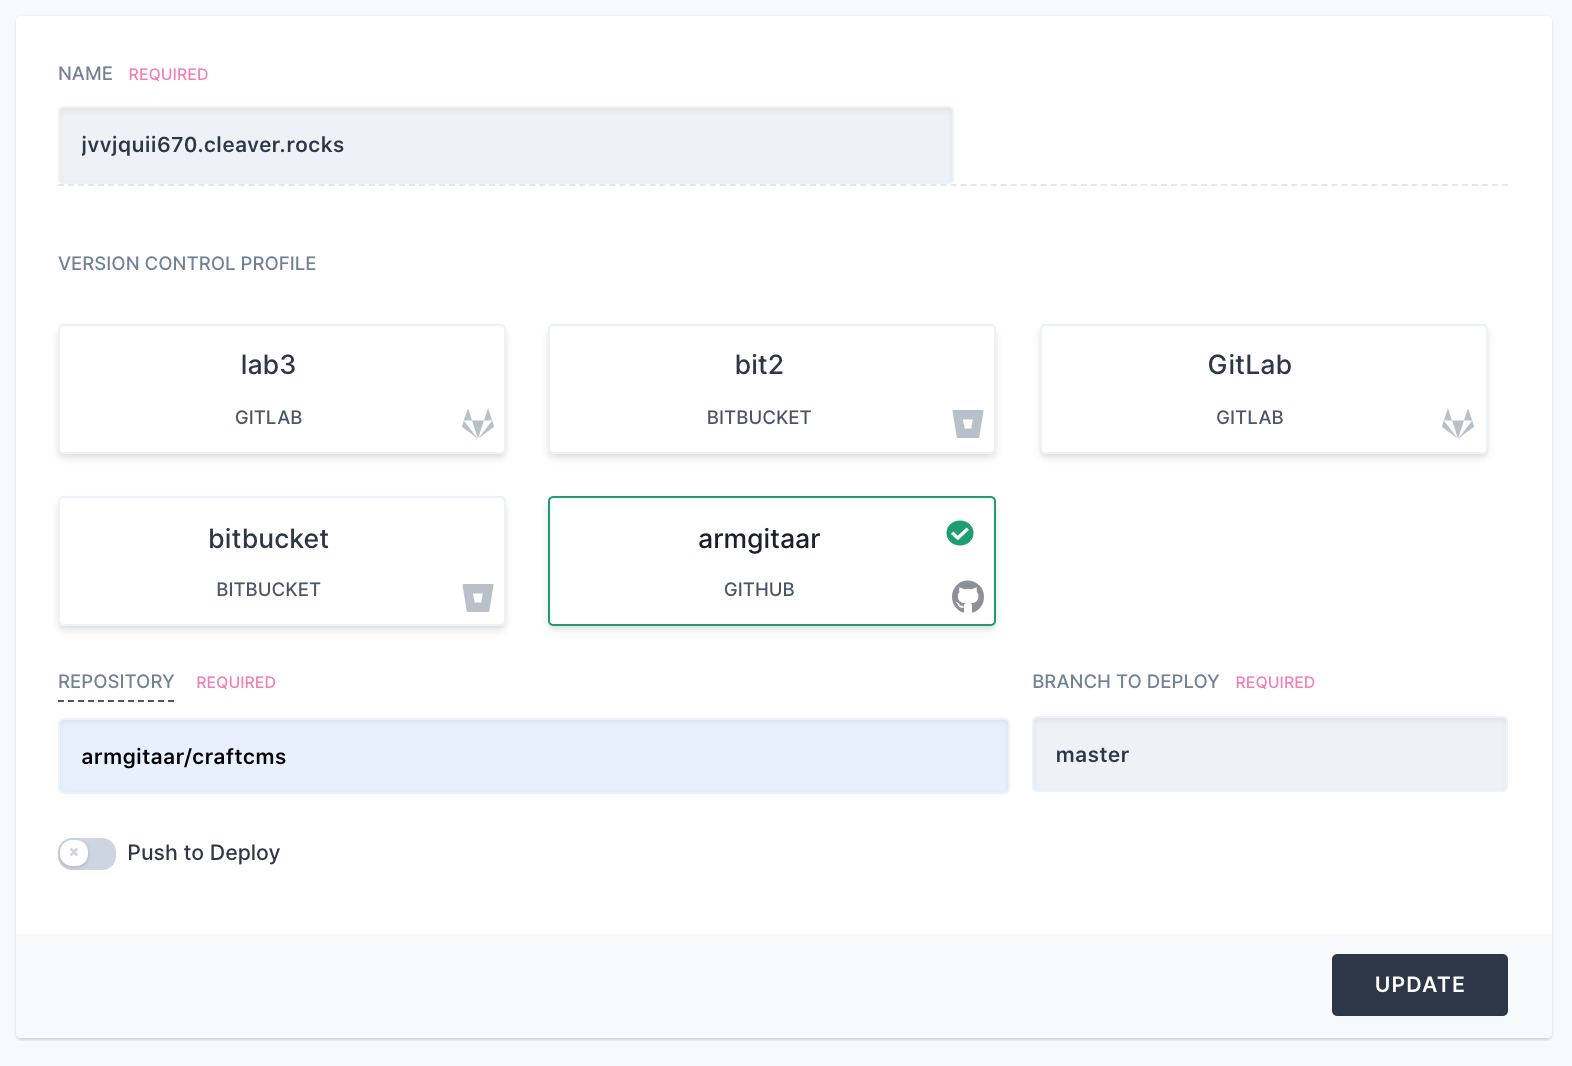
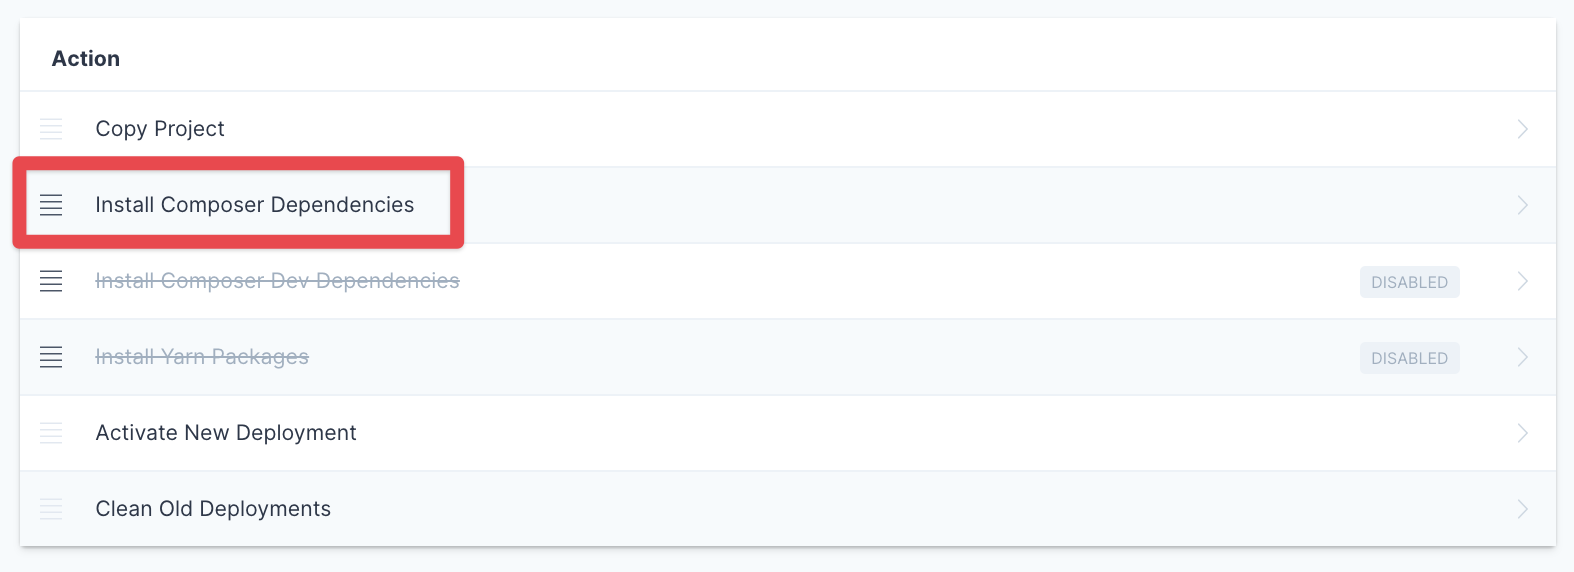
Next, go to the deployment hooks section and enable the Install Composer Dependencies hook.
Deploy and finish setup
You can now deploy the web app. Once complete, if you go to the URL, you see a page full of gibberish.
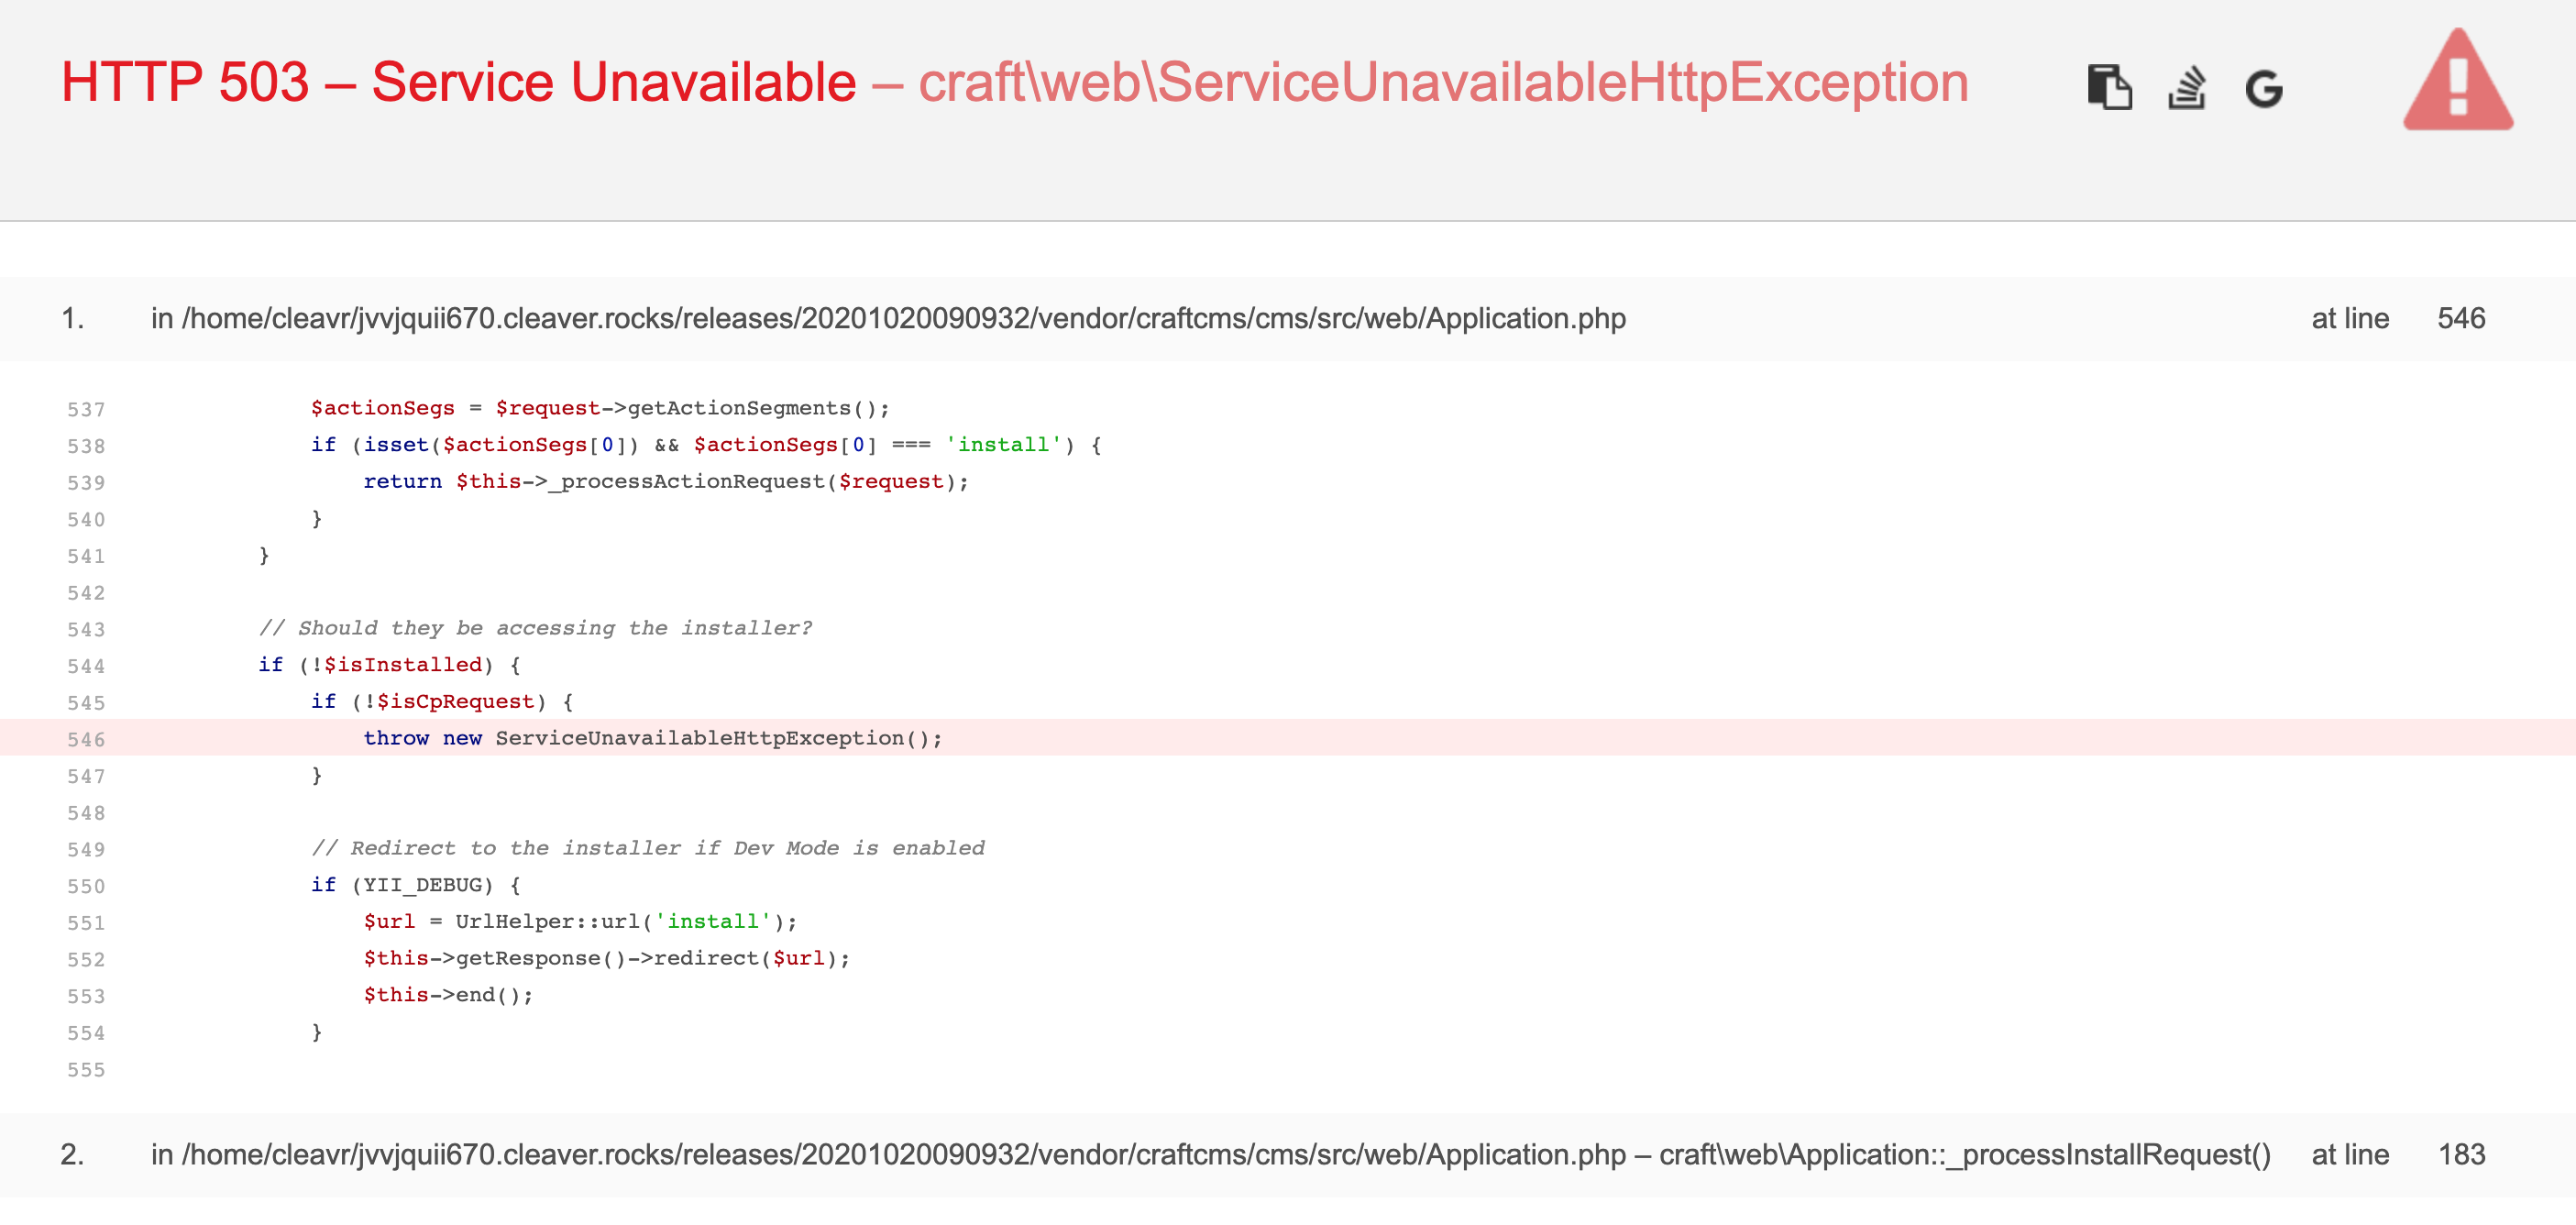
Just append /index.php?p=admin/install to the end of the URL to go to the install page.

This will take you through some setup screens to connect to your database and create your admin credentials.
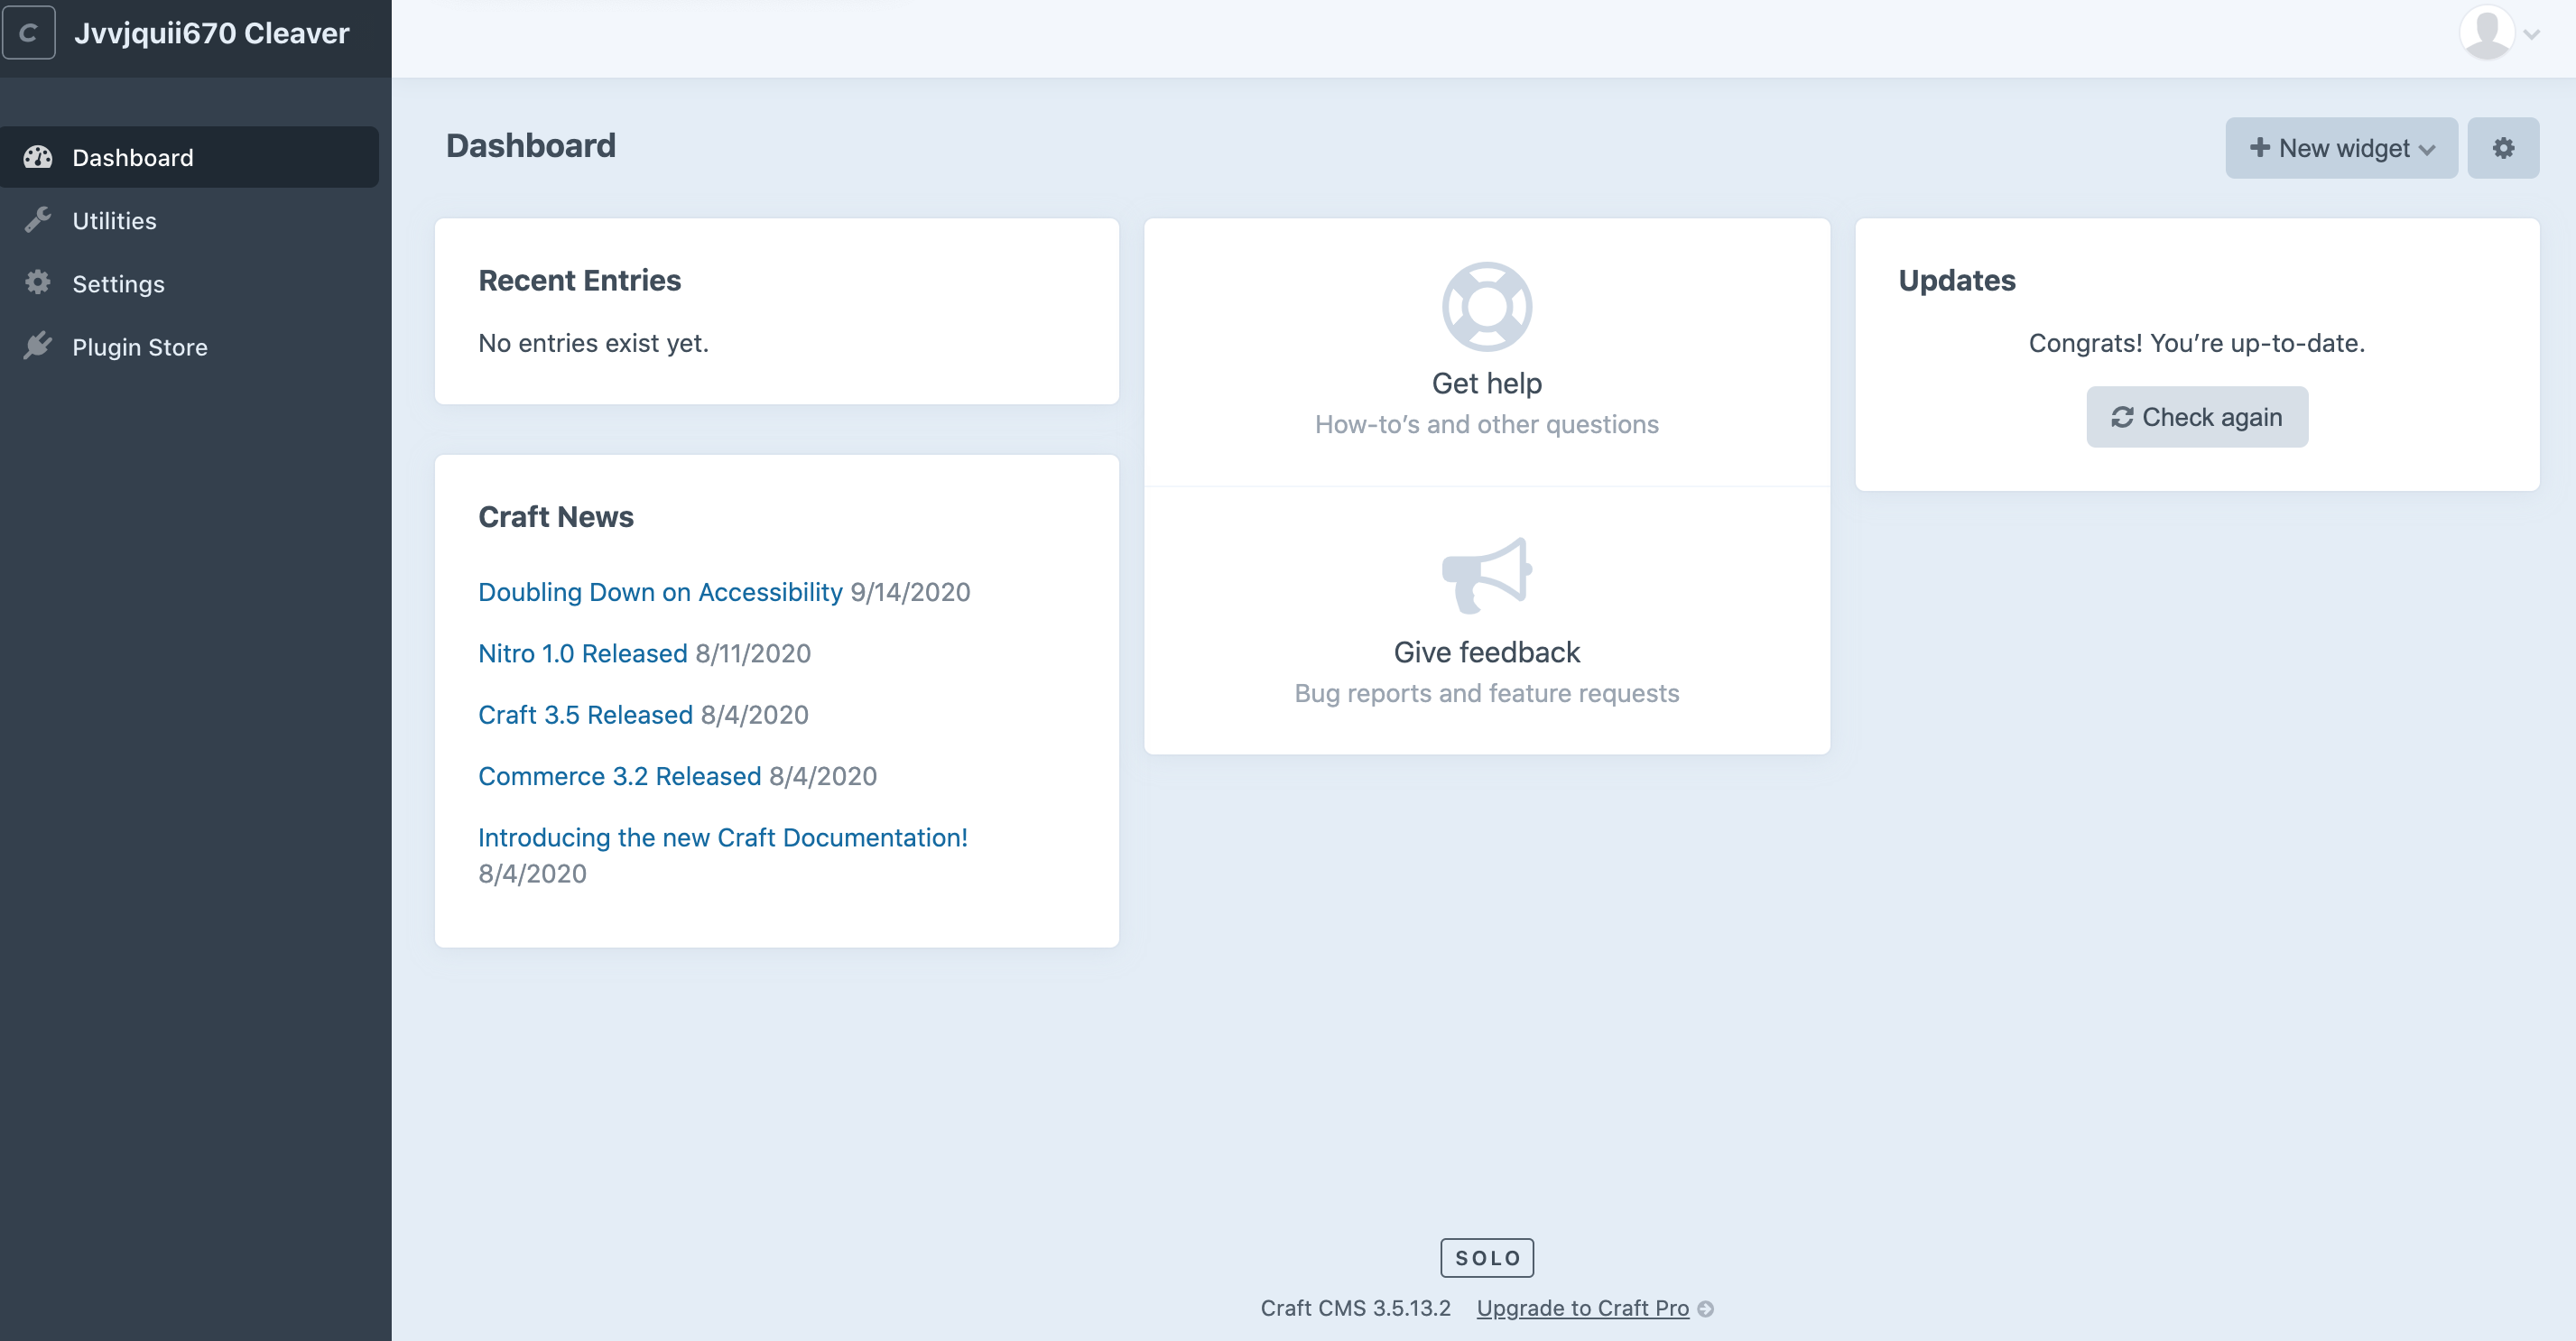
Once complete, BOOM! 
You now have Craft CMS setup on your server.
To continue creating forms, front-end, etc - check out this tutorial